
There are many benefits to Office 365. You can attach multiple accounts to one Outlook platform. And you can have different mailboxes within your Outlook account that you use for different purposes. It can have the primary mailbox, archive mailbox, or shared mailbox. You can create an archive mailbox and a shared mailbox, and then move your primary mailbox’s information to the archive mailbox.
The shared mailboxes represent the common mailbox that users share within their Office 365 accounts. The shared mailbox is used to send an email to other users. You can easily recognize the shared mailbox by its name like contact@xyzdomain, info@xyzdomain, complaint@xyzdomain, share@xyzdomain
If you don’t see your shared mailbox in Office 365, you might be missing important emails. You can fix this problem immediately.
Administrators should grant an additional permission level, ‘Folder Permission’, to users who access the mailbox folder.
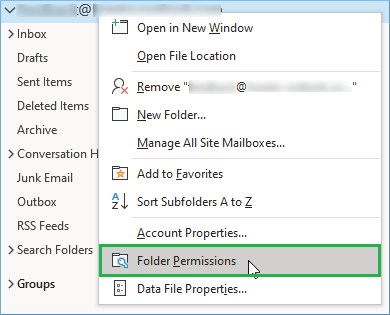
1. Administrators should log in to their account and right-click on it. Then, choose Folder Permissions.
2. Click the Add button.
3. Select the Permission level, and then check the box ‘Folder Visible’ under the other category.

4. Click OK and then Apply.
After the Administrator has granted the permissions, the receiver is able to add the folder to his/her Outlook account.
1. Follow File>>Account Settings>>Account Settings>>Exchange Account>>Change>>More Settings>>Advanced.
2. Click the Add button to enter the name of your shared mailbox address for Office 365.
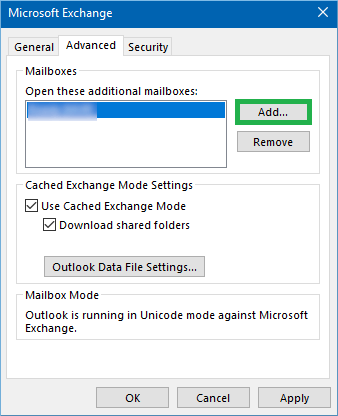
3. Click Apply to restart Outlook. Verify that the shared mailbox is available now.
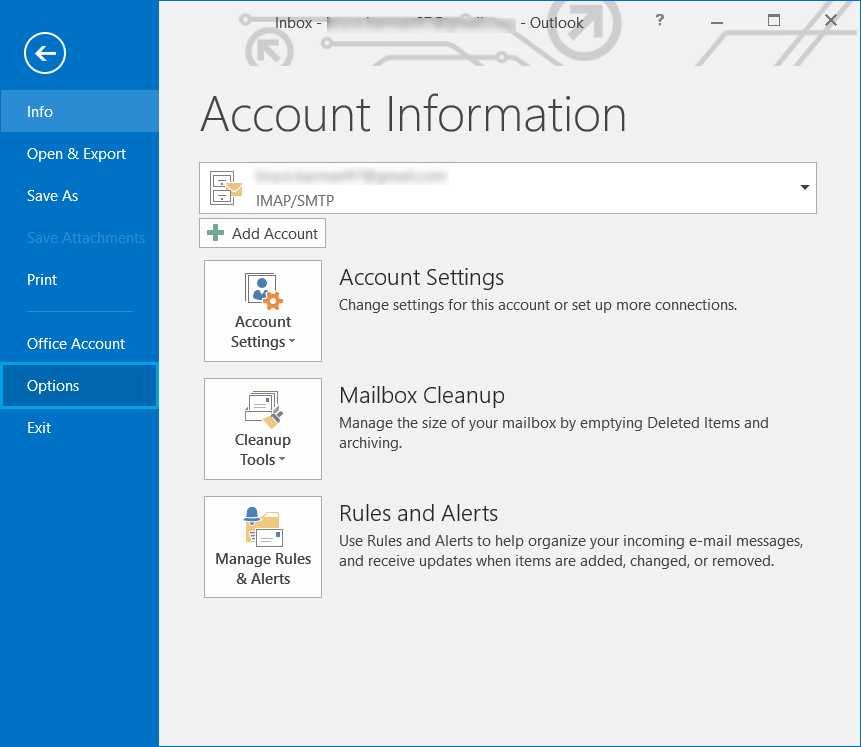
1. Start Outlook, click File, go to Options, and then click it.
2. Check the Advanced tab to enable troubleshooting logging.
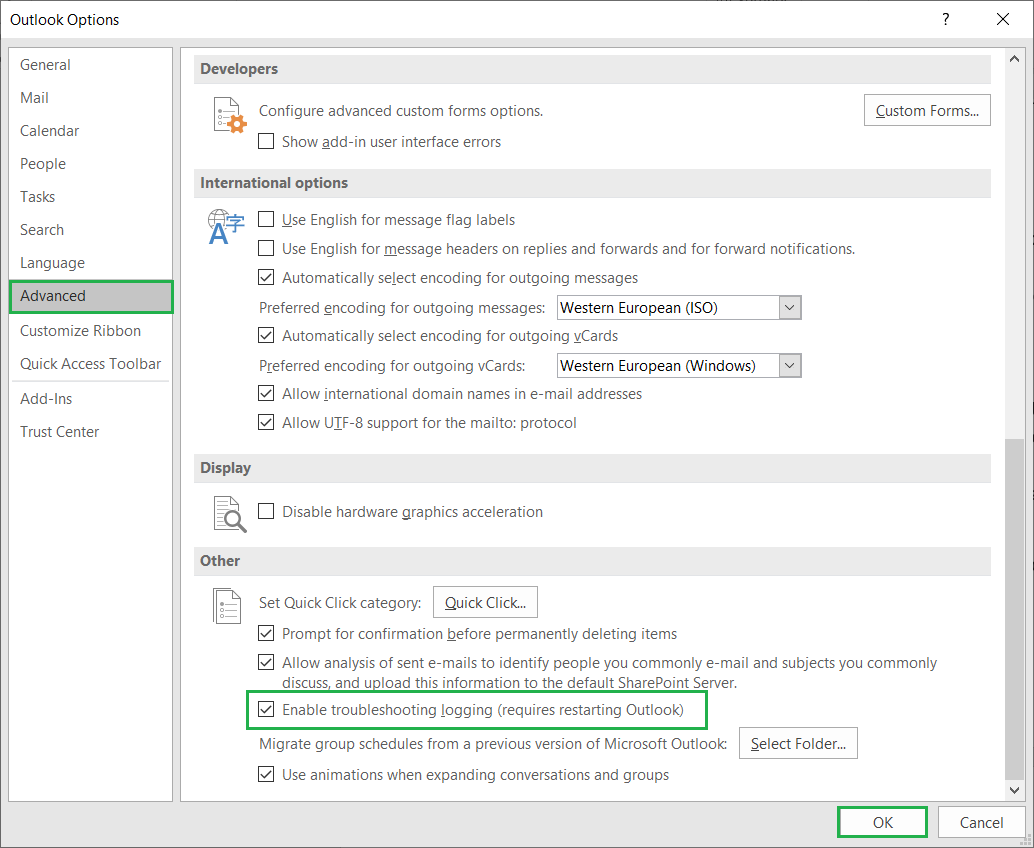
3. Check the logs from the most recent session to see if there are any errors. You can then proceed to troubleshooting the problem based on these errors.
You can also try a different method, although it is slightly more complicated. Outlook has an auto-mapping function that finds the shared mailbox and adds it into your Outlook account. The Outlook data file grows in size with the data. Outlook may stop accepting data from shared mailboxes once it reaches 50GB.
You can also disable Auto-mapping and add the shared mailbox as a normal mailbox.
Follow these easy steps;
Outlook Offline Outlook File Renaming is an option. If this file is corrupted, it could cause Outlook to lose its synchronization. It is a good idea to rename this file, as it contains the Outlook local copy of Exchange and will be recreated when Exchange is connected again.
Navigate to the OST file location – C:\Users\\AppData\Local\Microsoft\Outlook
Navigate to the.ost file, and add old in the old.pst. The file will be renamed. Start Outlook and examine the changes.
You should be able to access your shared mailbox using all the methods above. If you still have trouble accessing your shared mailbox in Outlook despite following these steps, you will need to use professional migration software specifically designed for Office 365 migration. Professional Office 365 migration software can manage all permissions and efficiently migrate all mailboxes to the required accounts.


