
Blog about a manual approach to convert OLM in PST (Outlook for Mac into Outlook for Windows) at no cost. We will also go over how to convert emails as well as other information in OLM file format into Outlook PST file format. Before this, let’s look at both Outlook applications and their respective versions – Outlook on Mac in addition to Outlook on Windows.
Microsoft provides two highly efficient email programs, both of which have earned a good name within the market for email communication. There are two kinds of users available and one of them uses Outlook for Mac as well as Outlook to Windows. Both of these programs have the same feature – they both use the same file format , in which the data is saved. MS Outlook saves all the information to PST file format (Personal Storage Table).
However, Outlook for Mac uses an OLM file to save its information. Be aware that you can’t access your OLM file using Windows Outlook because it only supports PST or MSG file formats. However, if you want to access it from the Outlook Window, you must move your OLM data into PST file format.
The first step is to have to sign up for your Gmail account.

To the left in the right-hand side of your Gmail account, you’ll be able to see the Gear icon. Select on it.
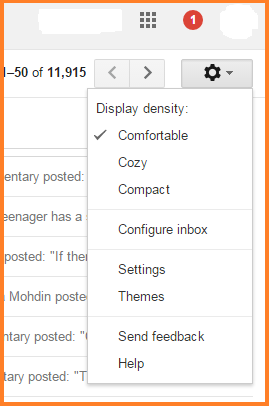
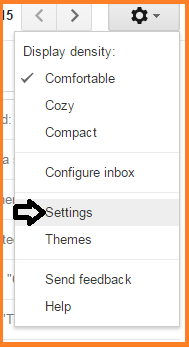
You must now hit to select the setting button.
After clicking the button Settings, select forwarding as well as POP/IMAP tab.

The next step is to verify to see the IMAP acces status. If it is disallowed and you want to enable it, then you have to activate it.

You will need to log into the account in Gmail Then, go toward your Gmail icon that is located on the right part of the Gmail account. Then, click on the Settings button.

In the Settings tab, you will need Click on the label.
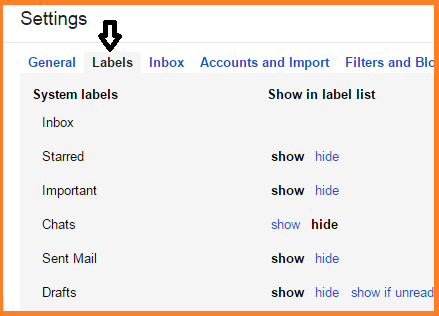
In this case, you need to click the Create New Label button in the list in front of you. Additionally, you must click on the checkbox that is associated with IMAP.

Once you have completed this point, you’re required to switch to Outlook on your Mac Outlook and click on Send/Receive.
Now the entire mailbox data that you have copied has been synced with IMAP mailbox folders.
TSo far, we’ve had a lot of discussions about the manual method and we’ve discovered a lot. We must be attentive when using the manual method since in the event that we fail to perform this step, we could lose all the information. If you’re listening to us, we’d suggest that you change the Mac OLM file to Outlook PST format using the help of OLM to PST Converter program. The most reliable tool which effectively converts OLM data into PST file format , without altering the formatting or structure of the data. Explore it in the Free version to convert OLM files to PST format.


